Browning A5 Maintenance Series: Reassembly

Published on October 24, 2014
Duration: 3:52

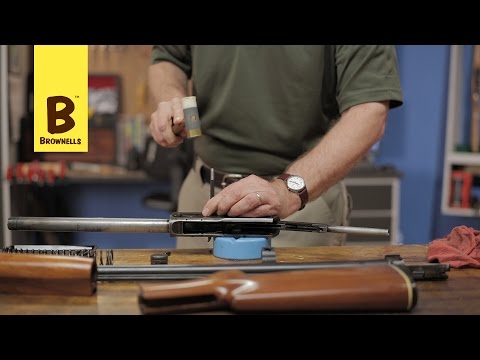
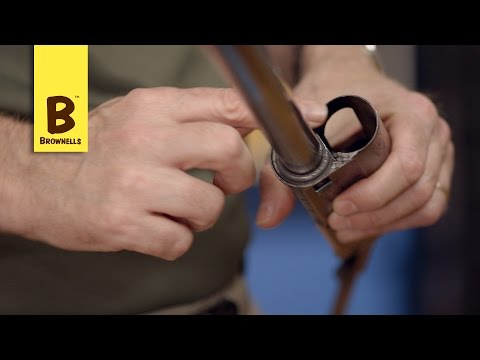
This guide details the reassembly process for the Browning A5 shotgun, presented by a Brownells gunsmith. It covers critical steps like bolt assembly insertion, latch pin and spring installation, carrier and action spring reinstallation, and proper friction ring orientation for different loads. The instruction emphasizes a methodical approach for successful reassembly.

Quick Summary

The Browning A5 reassembly involves inserting the bolt assembly, then the latch pin and spring. The carrier and action spring are reinstalled, followed by the trigger group. Crucially, friction rings must be oriented correctly based on ammunition type (concave forward for heavy loads, between receiver/spring for light loads).

Chapters

  1. 00:00Bolt Assembly Reinsertion
  2. 00:20Latch Pin and Spring Installation
  3. 00:48Carrier and Carrier Spring Reassembly
  4. 01:35Trigger Group and Action Spring Installation
  5. 02:14Stock and Friction Ring Orientation
  6. 03:00Final Assembly Steps

Frequently Asked Questions

How do you reassemble the bolt assembly on a Browning A5?

Begin by inserting the bolt assembly through the receiver's front. Swing the bar link down to fit the operating handle through the ejection port, then swing the bar link back and move the assembly rearward.

What is the correct friction ring orientation for a Browning A5?

For heavy loads like slugs or buckshot, the concave surface of the compression ring faces forward. For lighter loads such as birdshot, the ring is positioned between the receiver and the action spring, both capped by the bronze friction piece.

What tools are needed for Browning A5 reassembly?

The video demonstrates the need for basic tools such as a hammer and punch, primarily for securing the latch pin during the bolt assembly reinstallation process.

How is the carrier spring installed on early Browning A5 models?

On early models, the carrier spring's long arm must be positioned on top with the closed end towards the rear. It then needs to be compressed and swung underneath the front post.

Related News

All News →

More Gunsmithing & DIY Videos You Might Like

More from Brownells, Inc.

View all →