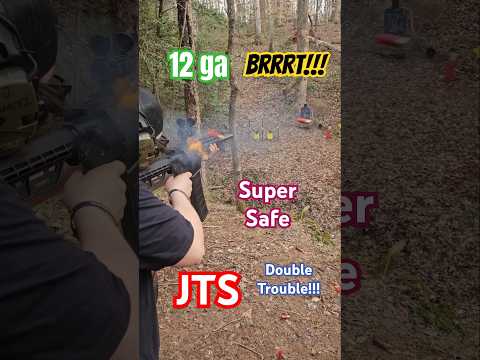
Glock FRT in a PSA Dagger

Published on August 11, 2025
Duration: 12:23

This guide details the installation of a Glock FRT (Forced Reset Trigger) into a PSA Dagger pistol. It covers using components like the Stizze trigger with Pimbleton & Sons S8 housing or a 3D printed Freedom Finger trigger. The process involves disassembling the lower receiver, installing the new housing and trigger, reassembling, and performing function checks and lubrication. Minor tuning of 3D printed parts may be necessary for optimal performance.

Quick Summary

Installing a Glock FRT trigger in a PSA Dagger involves using components like the Stizze trigger with Pimbleton & Sons S8 housing or a 3D printed Freedom Finger trigger. The S8 housing eliminates the need for the original connector. Proper lubrication and potential minor adjustments to 3D printed parts are key for reliable function.

Chapters

  1. 00:00Introduction to Glock FRT in PSA Dagger
  2. 00:09Components: Stizze Trigger & S8 Housing
  3. 00:21Components: 3D Printed Freedom Finger Trigger
  4. 00:35First Mag Run & Initial Impressions
  5. 00:58Detailed Component Breakdown
  6. 01:11S8 Housing Functionality
  7. 01:30Supporting Small 2A Vendors
  8. 01:50Installation Process & Minor Issues
  9. 02:02Lubrication and Recoil Spring Considerations
  10. 02:23Testing 3D Printed Trigger on Compact Frame
  11. 02:44FRT Performance Discussion
  12. 02:58Compact Frame Test & Troubleshooting
  13. 03:13Adding Lubrication and Further Testing
  14. 03:42Troubleshooting the Compact Frame
  15. 03:52Full Size Frame with STIZZY S8 Housing
  16. 04:15Troubleshooting Full Size Frame Issues
  17. 04:42Everyday Person's Approach to Gunsmithing
  18. 04:50Continued Testing and Lubrication
  19. 05:17Testing Results and Observations
  20. 05:45Troubleshooting Compact Frame Again
  21. 06:06Pre-Video Test and Recoil Spring Hypothesis
  22. 06:28Final Test on Compact Frame
  23. 06:55Summary of Issues and Future Plans
  24. 07:12Conclusion and Next Video Tease

Frequently Asked Questions

What components are needed to install a Glock FRT trigger in a PSA Dagger?

To install a Glock FRT trigger in a PSA Dagger, you'll need the FRT trigger itself (such as the Stizze trigger or a 3D printed Freedom Finger trigger) and a compatible housing, like the S8 housing from Pimbleton & Sons. Ensure all necessary small parts, like the extractor, are also present and installed correctly.

How does the S8 housing from Pimbleton & Sons affect the trigger installation?

The S8 housing from Pimbleton & Sons is designed to delete the original firearm connector. This simplifies the installation process for FRT triggers by removing a component that would otherwise need to be accommodated or modified, allowing for easier tuning of the trigger's engagement point.

What are common issues when installing a 3D printed FRT trigger, and how can they be resolved?

Common issues with 3D printed FRT triggers include binding or sticking, particularly on the first round. Resolution often involves minor adjustments like carefully sanding or shaving the printed parts to achieve the optimal angle and ensure smooth movement within the firearm's frame.

Is a heavier recoil spring necessary for a PSA Dagger with an FRT trigger?

While some users suggest a heavier recoil spring (e.g., 22-pound) for FRT triggers, the standard recoil springs that come with the PSA Dagger may work. However, thorough lubrication and potential tuning are crucial, and a heavier spring might be considered if consistent cycling issues persist after initial setup.

Related News

All News →

More Gunsmithing & DIY Videos You Might Like

More from PoorBoy Arms

View all →