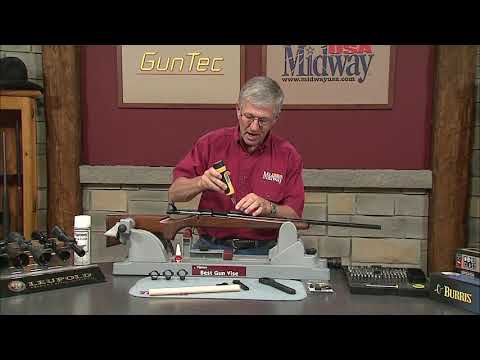
How to Pillar Bed a Bolt Action Rifle Presented by Larry Potterfield of MidwayUSA

Published on March 20, 2009
Duration: 1:31

Pillar bedding a bolt-action rifle involves installing metal pillars to create a stable, consistent bedding surface. This process requires precise machining of the stock and careful measurement of pillar length to ensure a 0.010-inch protrusion. Proper application of release agents and epoxy is crucial for a successful, accuracy-enhancing modification.

Quick Summary

Pillar bedding improves bolt-action rifle accuracy by creating a stable foundation. Pillars ensure consistent torquing by providing metal-to-metal contact. The process requires precise machining of the stock and pillars, with an ideal protrusion of 0.010 inches, and the use of release agents to prevent bonding.

Chapters

  1. 00:00Introduction to Pillar Bedding
  2. 00:15Pillar Design and Function
  3. 00:35Machining the Stock
  4. 00:52Preparation and Measurement
  5. 01:03Installation and Epoxy

Frequently Asked Questions

What is the main benefit of pillar bedding a bolt-action rifle?

Pillar bedding significantly improves a bolt-action rifle's accuracy by creating a stable, consistent bedding surface for the action. This method ensures uniform pressure and repeatable torquing of the action screws, leading to enhanced precision.

How do you prepare a rifle stock for pillar bedding?

Preparation involves carefully drilling out the trigger guard screw holes to the correct diameter for the pillars. For rifles with blind magazines, precise machining with a flat end mill is necessary near the escutcheon to avoid damage.

What is the correct pillar protrusion for bedding?

The recommended pillar protrusion is 0.010 inches (10/1000th of an inch). This precise measurement ensures proper contact and bedding pressure when the action is secured into the stock.

Why are release agents important in pillar bedding?

Release agents are critical to prevent the barreled action and bedding screws from permanently bonding to the epoxy. Applying it ensures these components can be removed after the epoxy cures, allowing for proper assembly.

Related News

All News →

More Gunsmithing & DIY Videos You Might Like

More from MidwayUSA

View all →