I take apart a GRENADE😵 #shorts

Published on September 10, 2023
Duration: 0:59

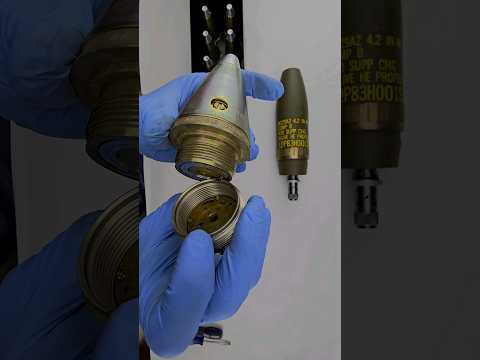
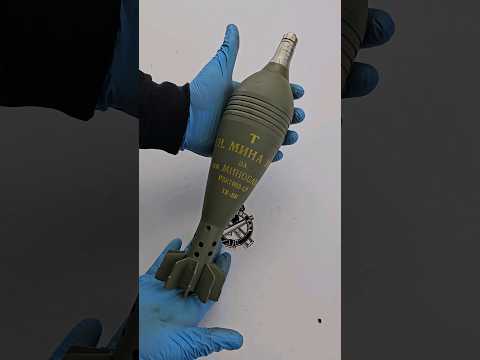
This guide details the disassembly of an inert MK2 style 'pineapple' grenade, as demonstrated by 1st Shot Tactical. It emphasizes identifying safety markings like a drilled hole and blue fuse paint, followed by removing the pin, spoon, and unscrewing the fuse housing to reveal the hollow interior. The explanation covers the fragmentation design and fuse delay mechanics of such ordnance.

Quick Summary

To identify an inert grenade, check for a hole drilled in the bottom of the body and blue paint on the fuse assembly. These are common indicators that the ordnance is deactivated. The disassembly process involves removing the safety pin, then the spoon (safety lever), and finally unscrewing the fuse housing from the body.

Chapters

  1. 00:00Introduction & Safety Markings
  2. 00:12Pin and Spoon Removal
  3. 00:23Fuse Housing Disassembly
  4. 00:39Body Design Explanation

Frequently Asked Questions

How can you tell if a grenade is inert?

Look for specific safety indicators. A hole drilled in the bottom of the grenade body signifies it's empty. Additionally, blue paint on the fuse assembly is a common marking used to denote training or inert ordnance, distinguishing it from live devices.

What are the main components of a grenade's fuse mechanism?

A typical grenade fuse mechanism includes a safety pin, a safety lever (spoon), and the fuse housing containing the delay element and primer. Pulling the pin allows the spoon to release, initiating the delay.

What is the purpose of the 'pineapple' design on some grenades?

The segmented or 'pineapple' design of certain grenade bodies, like the MK2, is intended to break into numerous fragments upon detonation, increasing the area of effect and lethality.

What is the typical fuse delay for a fragmentation grenade?

Fragmentation grenades commonly feature a fuse delay of approximately 5 to 10 seconds. This delay provides the thrower sufficient time to deploy the grenade and seek cover after pulling the pin.

More Gunsmithing & DIY Videos You Might Like

More from 1st Shot Tactical

View all →