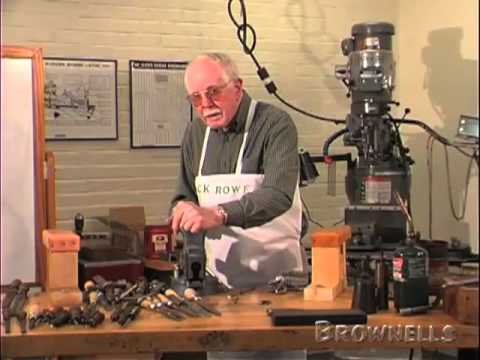
Jack Rowe, Master Gunsmith Series, Making a Spring. Part 3 of 3.

Published on May 30, 2012
Duration: 8:49

This video demonstrates the process of making and hardening a small spring, likely for firearm repair or fabrication. It covers crucial steps like shaping, heat treatment to achieve a uniform red color, oil quenching, and testing the spring's temper and set. The instructor emphasizes the importance of not overheating the spring and the benefits of making it slightly too soft for re-hardening, rather than too hard which risks breakage.

Quick Summary

When making a small spring for firearm repair, ensure the gape of the legs is proportionate to the spring's length. It's better to make the spring slightly too soft, as it can be re-hardened, rather than too hard which risks breakage. Heat to a uniform bright red, burn off oil residue, and then quench in oil.

Chapters

  1. 00:46Opening the Spring and Cooling
  2. 00:58Spring Gape and Leg Length
  3. 01:16Spring Set and Material Properties
  4. 02:01Spring Hardness and Breakage Risks
  5. 02:22Preparing for Quenching
  6. 02:32Wrapping the Spring
  7. 04:11Heating to Uniform Color
  8. 04:17Heating Larger Springs
  9. 05:10Adjusting Flame for Heating
  10. 05:33Warming to Ignite Oil
  11. 05:53Burning Off Oil
  12. 06:13Reheating and Burning Off Residue
  13. 06:54Final Burn Off and Quenching
  14. 07:04Testing Spring Hardness
  15. 07:56Testing the Spring's Set

Frequently Asked Questions

What is the correct way to open the legs of a small spring for firearm repair?

The amount the spring's legs should open, or the 'gape,' should be commensurate with the spring's length. For small springs, you cannot have a great big wide gape, as it simply won't work correctly and may lead to issues after hardening.

How can you tell if a spring is too hard after the hardening process?

If a spring doesn't take a set when tested by squeezing its legs together, it's likely too hard and prone to breaking. You can also test hardness by trying to file it; if a mill file cuts it easily, it's not too hard.

What is the best practice for hardening a spring to avoid breakage?

It's better to make a spring too soft than too hard. A soft spring can be re-hardened, whereas a spring that is too hard may break during the process, wasting all your effort. Aim for a uniform bright red color during heating.

How do you properly quench a small spring after heating?

After heating the spring to a uniform bright red and allowing any oil residue to burn off, quench it in oil. Wrapping the spring loosely in iron wire before heating helps prevent it from drifting in the oil during quenching.

More Gunsmithing & DIY Videos You Might Like

More from Brownells, Inc.

View all →