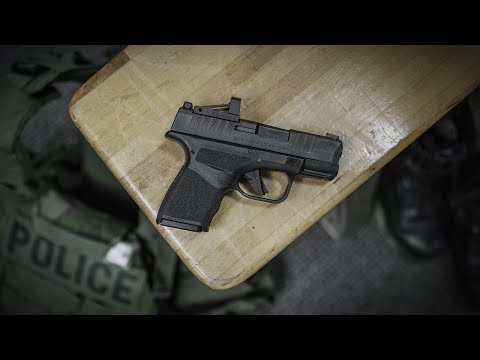
Springfield Armory® 1911DS Prodigy™ How-To Field Strip, Clean, and Reassemble
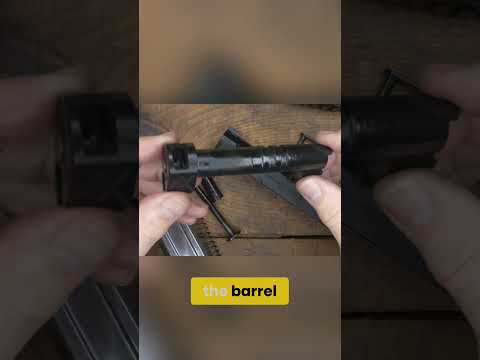
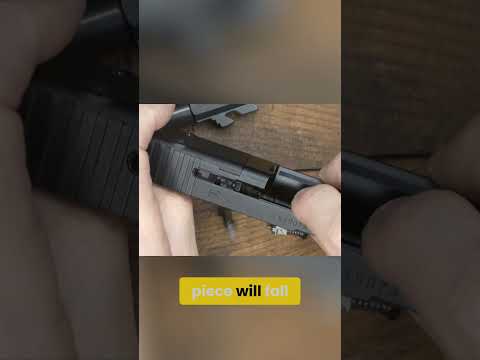
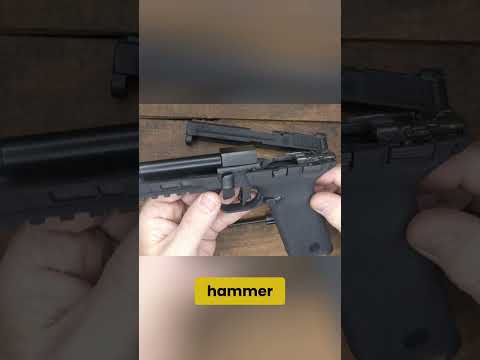
Published on September 22, 2022
Duration: 5:25

This guide details the field stripping, cleaning, and reassembly process for the Springfield Armory 1911 DS Prodigy, presented by Scott from Defensive Group for The Armory Life. It highlights the unique full-length, two-piece guide rod system of this model, differentiating it from standard 1911s. The instructions emphasize safety protocols throughout the procedure, from initial unloading to final function checks.

Quick Summary

The Springfield Armory 1911 DS Prodigy features a full-length, two-piece guide rod system, requiring a 5/32" hex wrench for disassembly and reassembly. Always ensure the firearm is unloaded before starting, loosen the guide rod half a turn, align the slide stop notch, and remove the slide. Reassembly involves reversing these steps, ensuring proper alignment to avoid forcing components.

Chapters

  1. 00:00Introduction & Disclaimer
  2. 00:22Safety First: Unloading Firearm
  3. 00:40Field Strip: Loosening Guide Rod
  4. 00:52Field Strip: Removing Slide Stop
  5. 01:03Field Strip: Separating Slide & Frame
  6. 01:17Field Strip: Disassembling Slide
  7. 01:40Field Strip: Removing Spring & Plug
  8. 01:56Field Strip: Removing Barrel
  9. 02:05Cleaning: Barrel Procedure
  10. 02:44Cleaning: Remaining Components
  11. 03:09Reassembly: Barrel & Reverse Plug
  12. 03:37Reassembly: Guide Rod & Spring
  13. 03:54Reassembly: Connecting Two-Piece Guide Rod
  14. 04:15Reassembly: Slide to Frame
  15. 04:38Reassembly: Installing Slide Stop
  16. 05:01Final Tightening & Function Check

Frequently Asked Questions

What makes the Springfield Armory 1911 DS Prodigy's field stripping different from a standard 1911?

The Springfield Armory 1911 DS Prodigy features a full-length, two-piece guide rod system. This requires loosening the guide rod with a hex wrench before removing the slide stop, unlike traditional 1911s with single-piece guide rods.

What tools are needed to field strip the Springfield Armory 1911 DS Prodigy?

You will need a 5/32" hex wrench to loosen and tighten the two-piece guide rod. Additionally, standard cleaning supplies such as a cleaning rod, bore brush, solvent, patches, and lubricant are necessary for the cleaning process.

What is the first safety step before disassembling the Springfield Armory 1911 DS Prodigy?

The absolute first step is to ensure the firearm is unloaded and safe. This involves dropping the magazine, locking the slide to the rear, and performing both a visual and physical inspection of the chamber to confirm it is completely empty.

How do you properly reassemble the slide onto the frame of the 1911 DS Prodigy?

After reassembly of the internal components, install the slide onto the frame, ensuring the guide rod head is correctly oriented. If you encounter resistance, do not force it; remove the slide and verify that the barrel is properly seated and the recoil system is aligned.

Related News

All News →

More Gunsmithing & DIY Videos You Might Like

More from SPRINGFIELD ARMORY

View all →