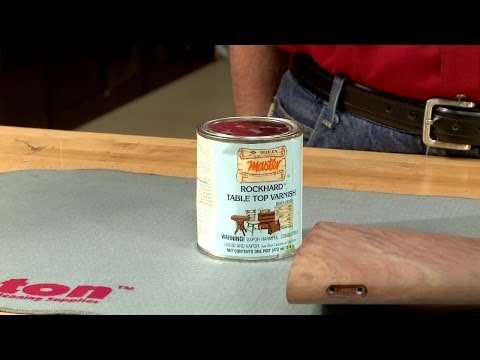
Videos tagged with Wood Finishing

This video demonstrates the final finishing stages of creating a wooden file handle using a lathe. It covers sanding techniques and the application of a high-build friction polish to achieve a smooth, shiny finish. The instructor emphasizes safety by wearing glasses during operation.


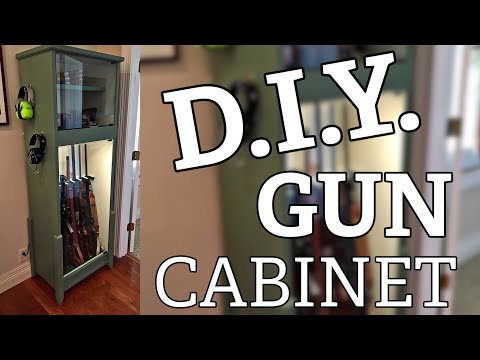
This guide details the process of building a custom gun cabinet, emphasizing woodworking techniques like rabbet joints and dado cuts for structural integrity. It covers creating internal dividers, adding decorative legs and trim, and finishing the cabinet with paint. The project is presented as a motivational example for DIY enthusiasts with intermediate woodworking skills.