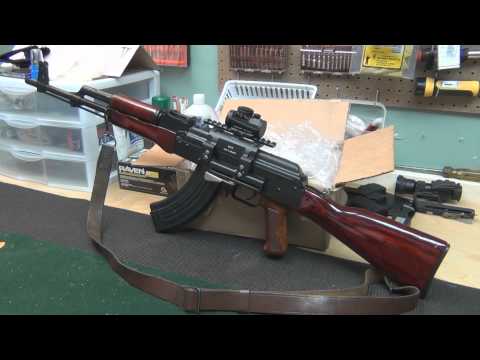
"Part 4- Applying the Tru-oil and buffing to the desired finish" Stock Refinishing

Published on March 3, 2009
Duration: 7:06

This guide details the process of refinishing a rifle stock using Birchwood Casey Tru-oil, as demonstrated by Iraqveteran8888. It covers material preparation, proper stock hanging, thin coat application techniques, drying times, buffing with steel wool, and final cleaning with a tack cloth to achieve a durable satin finish. The instruction emphasizes patience and multiple thin layers for optimal results.

Quick Summary

Refinishing a rifle stock with Tru-oil involves applying thin, overlapping coats after preparing and hanging the stock. Allow 2-3 hours drying time between each of the recommended 6-8 coats. Lightly buff with steel wool and wipe with a tack cloth between layers to ensure adhesion and a smooth, satin finish.

Chapters

  1. 00:00Materials and Preparation
  2. 01:28Hanging the Stock
  3. 02:02Applying Tru-oil
  4. 04:00Applicator Storage
  5. 04:22Buffing and Layering
  6. 06:10Final Steps and Conclusion

Frequently Asked Questions

What materials are needed for refinishing a rifle stock with Tru-oil?

You will need Birchwood Casey Tru-oil, cheesecloth for application, nitrile gloves for protection, steel wool for buffing, a tack cloth for cleaning, and 17-gauge galvanized fence wire for hanging the stock.

How should Tru-oil be applied to a rifle stock?

Apply Tru-oil in very thin, even coats, starting from the top and overlapping sections. Ensure complete coverage without runs. Allow each coat to dry for 2-3 hours before proceeding.

What is the purpose of buffing with steel wool between Tru-oil coats?

Lightly buffing with steel wool after each coat helps to smooth the surface and ensures better adhesion for the next layer of Tru-oil, contributing to a more durable and refined finish.

Why is it important to hang the rifle stock while refinishing?

Hanging the stock prevents it from touching any surfaces during the drying process, which avoids imperfections, smudges, or damage to the wet finish, ensuring a uniform and professional-looking result.

More Gunsmithing & DIY Videos You Might Like

More from Iraqveteran8888

View all →