Color Fill The Engraving on Your Firearms The Quick and Easy Way

Published on March 2, 2025
Duration: 4:53

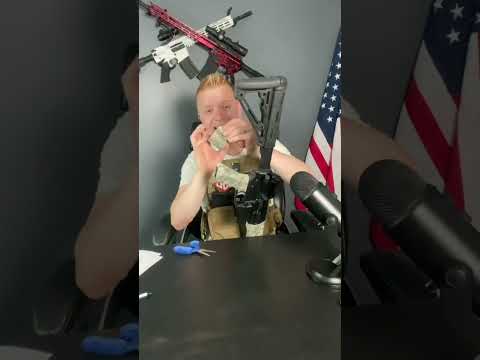
This guide details a quick and inexpensive method for color-filling firearm engravings using readily available materials. The technique involves applying acrylic paint with a toothpick, carefully removing excess with a business card, and then cleaning with non-acetone nail polish remover. An optional acrylic sealer can be applied for a glossier finish and added protection. The presenter notes this method is reversible and ideal for personalizing firearms, especially for easier identification.

Quick Summary

Color filling firearm engravings is a simple DIY project using acrylic paint and non-acetone nail polish remover. Apply paint with a toothpick, let it dry for an hour, then carefully wipe away excess with remover. This technique enhances firearm identification and is easily reversible if desired.

Chapters

  1. 00:07Introduction to Engraving Fill Technique
  2. 00:10New Technique for Filling Engravings
  3. 00:31Materials Needed: Acrylic Paint & Remover
  4. 01:11Applying Paint with Toothpicks
  5. 02:21Removing Excess Paint
  6. 03:09Drying Time and Final Wipe
  7. 03:36Benefits of Engraving Fill
  8. 04:15Optional Acrylic Sealer
  9. 04:33Why Acrylic Paint Over Nail Polish

Frequently Asked Questions

What are the essential materials for color filling firearm engravings?

You'll need acrylic paint (available affordably at stores like Walmart), non-acetone nail polish remover to protect your firearm's finish, and toothpicks for precise application. An optional acrylic sealer can add shine and protection.

How do you apply paint to firearm engravings effectively?

Use a toothpick to stir and apply the acrylic paint directly into the engravings. The toothpick's tip allows you to push the paint deeper into the crevices for a more complete fill.

What is the best way to clean excess paint from firearm engravings?

After the paint dries for about an hour, gently scrape off the bulk of the excess with a straight-edged object like a business card. Then, use non-acetone nail polish remover on a cloth or swab to carefully wipe away the remaining residue from the firearm's surface.

Why is using non-acetone nail polish remover important for this process?

Acetone in nail polish remover can damage or strip the finish of your firearm. Using a non-acetone formula ensures that you can safely clean away excess paint without harming the gun's original surface.

More Gunsmithing & DIY Videos You Might Like

More from PRO GUN

View all →