Don't Send in Your M&P Pistol Just Yet!

Published on December 3, 2016
Duration: 5:21

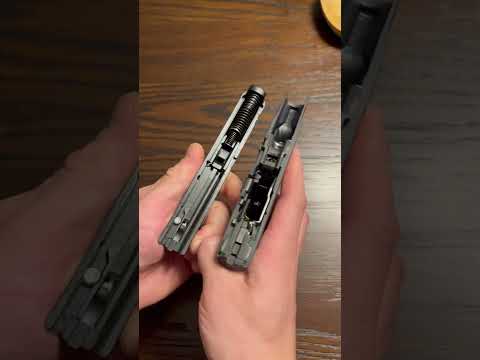
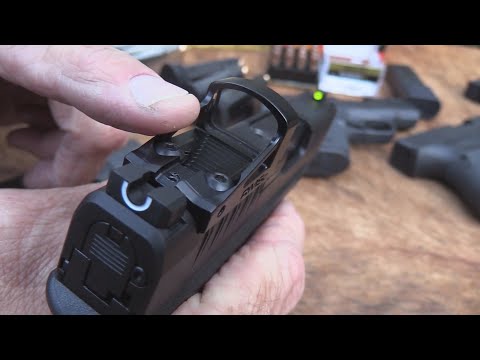
This guide details how to fix a common issue with Smith & Wesson M&P series pistols where the sear disconnect lever becomes stuck, preventing slide removal. Expert Kyle from 4MR Ranch demonstrates a practical method using a flashlight and gentle manipulation to reseat the lever without needing to send the firearm back to the factory. Proper safety checks are paramount before attempting this procedure.

Quick Summary

To fix a stuck sear disconnect lever on a Smith & Wesson M&P pistol, ensure the firearm is unloaded. Use a flashlight to view the lever through the ejection port and apply gentle pressure to its right side while moving it upward. A slight trigger pull may also be necessary to reseat the lever correctly.

Chapters

  1. 00:00Intro: M&P Shield Issue
  2. 00:27Standard vs. Recommended Disassembly
  3. 00:53The Sear Disconnect Lever Explained
  4. 02:21The Common Failure Point
  5. 03:48How to Fix a Stuck Lever

Frequently Asked Questions

What is the common problem with the Smith & Wesson M&P pistol's sear disconnect lever?

The sear disconnect lever can become stuck or misaligned, preventing the pistol's slide from being removed or causing other operational issues. This often requires a specific fix rather than factory service.

How can I fix a stuck sear disconnect lever on my M&P pistol?

With the firearm unloaded, use a flashlight to view the lever through the ejection port. Apply gentle pressure to the right side while moving it upward, potentially with a slight trigger pull, to reseat it.

What tools are needed to fix a stuck M&P sear disconnect lever?

You will primarily need a flashlight to see the internal component. A small, non-marring tool like a pencil can be helpful for applying precise pressure to the lever.

Is it safe to manipulate the sear disconnect lever on an M&P pistol?

Yes, it is safe provided the firearm is first confirmed to be completely unloaded. Always perform a visual and physical check of the chamber and magazine well before any internal manipulation.

Related News

All News →

More Gunsmithing & DIY Videos You Might Like

More from 4MR Ranch

View all →