How to paint your AR-15

Published on May 9, 2017
Duration: 7:11

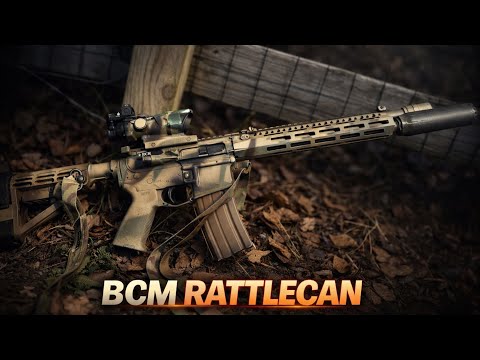
This guide details a method for painting an AR-15 rifle to achieve a disruptive camouflage pattern, as demonstrated by Garand Thumb. It covers material selection, preparation, base coat application, and the use of mesh netting for a detailed micro pattern. The process emphasizes practical application for both aesthetics and character, with a note on achieving a 'battle-worn' look through actual use.

Quick Summary

Learn to paint your AR-15 with a professional camouflage pattern using Rust-Oleum or Krylon. The process involves preparing the rifle by taping off sensitive areas, applying a base coat, and then using mesh netting to create a detailed micro-pattern for a disruptive effect.

Chapters

  1. 00:00Introduction & Purpose
  2. 01:04Materials Needed
  3. 01:55Preparation and Taping
  4. 02:43Base Coat Application
  5. 04:16Mesh Pattern Application
  6. 05:01Final Results and Wear
  7. 05:41Drying and Conclusion

Frequently Asked Questions

What materials are needed to paint an AR-15 rifle?

You'll need camouflage spray paints like Rust-Oleum or Krylon (khaki and brown are common), masking tape for protecting sensitive areas, mesh netting (such as a laundry bag) for creating patterns, and 550 cord or rope for hanging the rifle during the process.

How do you prepare an AR-15 for painting?

Before painting, ensure the rifle is unloaded. Use masking tape to cover critical components like optic lenses (e.g., Trijicon MRO), muzzle device threads, the charging handle, and the open bottom of the upper receiver to prevent paint from entering these areas.

What is the technique for applying camouflage paint to an AR-15?

The technique involves applying a base coat of alternating colors, followed by draping mesh netting over the rifle. A second color is then sprayed through the mesh from a distance to create a detailed, disruptive micro-pattern over the base coat.

How long does the paint take to dry and harden on an AR-15?

The camouflage spray paint typically dries to the touch within 1-2 minutes. However, it requires about a week to fully harden and cure, after which it will be more resistant to wear and tear.

Related News

All News →

More Gunsmithing & DIY Videos You Might Like

More from Garand Thumb

View all →