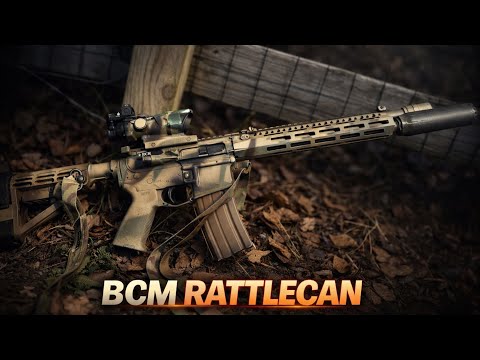
Learn to Paint your rifle / AR15 from Chinese [Bob Ross]

Published on May 28, 2020
Duration: 7:52

This video demonstrates a budget-friendly method for painting an AR-15 rifle using rattle-can spray paint, inspired by Bob Ross. It covers essential preparation steps like degreasing and masking critical components to ensure functionality. The tutorial details applying base and secondary camouflage coats, emphasizing the use of 'flat' (not 'ultra-flat') paints and proper curing times for durability.

Quick Summary

To paint your AR-15, use flat spray paint (not ultra-flat) and prepare by degreasing the rifle and masking critical surfaces. Apply base and secondary camouflage coats, allowing 24 hours drying between layers and a full week for final curing to ensure durability.

Chapters

  1. 00:00Intro: Tactical Painting Your AR-15
  2. 00:43Recommended Painting Materials
  3. 01:57Step 1: Degreasing the Rifle
  4. 02:29Step 2: Disassembly and Masking
  5. 03:26Step 3: Applying the Base Coat
  6. 04:47Step 4: Secondary Camouflage Pattern
  7. 06:17Step 5: Curing and Final Assembly

Frequently Asked Questions

What are the essential materials for painting an AR-15 with rattle cans?

You'll need flat spray paint (avoiding ultra-flat), aircraft remover for mistakes, masking tape, scissors, and paper for creating patterns. Ensure you have a well-ventilated area for application.

How do I prepare my AR-15 before spray painting it?

Start by degreasing the rifle to ensure proper paint adhesion. Then, disassemble small parts and meticulously mask critical mating surfaces like pivot holes and pin locations using tape.

What type of spray paint should I use for a durable AR-15 finish?

Opt for 'flat' spray paints from brands like Krylon or Rust-Oleum, but avoid 'ultra-flat' finishes as they tend to flake. Apply in thin, even coats for best results.

How long should I let the paint cure on my AR-15?

After applying the final coat, let the paint dry for 24 hours. For maximum durability and a long-lasting finish, allow the rifle to cure for a full week before extensive handling or use.

Related News

All News →

More Gunsmithing & DIY Videos You Might Like

More from 9-Hole Reviews

View all →