California Officers Respond To Dude With A Hammer

Published on November 14, 2020
Duration: 10:58

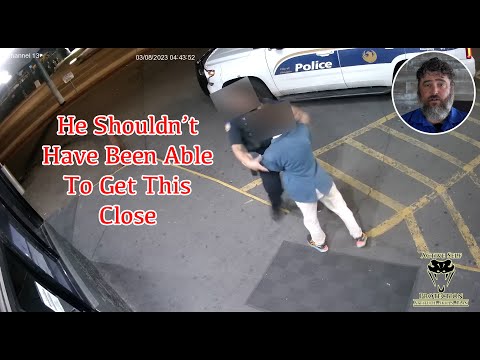
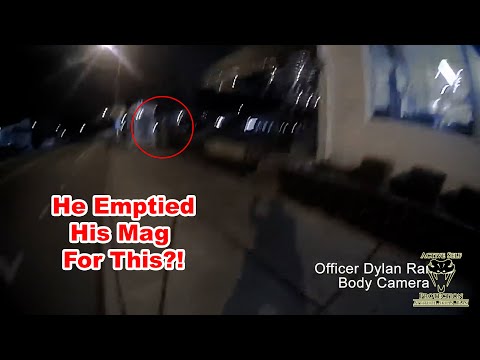
This entry analyzes a use-of-force incident in Van Nuys, California, as presented by John Correia of Active Self Protection. It critically examines the tactical decisions and shooting fundamentals demonstrated by officers, highlighting the ineffectiveness of leg shots and the importance of proper technique. The analysis also covers the application of less-lethal tools like batons and tasers in subduing a resistant suspect.

Quick Summary

John Correia of Active Self Protection critically analyzes a Van Nuys, CA incident involving a suspect with a hammer. Key takeaways include the ineffectiveness of leg shots for stopping threats, the importance of proper shooting fundamentals like sight alignment and trigger control to avoid firearm dipping, and the tactical application of less-lethal tools like batons and tasers.

Chapters

  1. 00:00Introduction and Context
  2. 00:35Initial Encounter
  3. 01:03Escalation and Containment
  4. 01:56Less-Lethal Intervention
  5. 03:04Tactical Analysis: OODA Loop and Draw Speed
  6. 05:25Shooting Fundamentals Critique
  7. 06:34The Ineffectiveness of Leg Shots
  8. 08:13Baton and Taser Application

Frequently Asked Questions

What tactical errors were highlighted in the Van Nuys hammer incident analysis?

The analysis by Active Self Protection pointed out critical errors including poor sight alignment, firearm dipping during the trigger press leading to unintentional leg shots, and the general ineffectiveness of leg shots for threat neutralization.

Why are leg shots considered a poor tactical choice in officer-involved shootings?

Leg shots are deemed ineffective because they often fail to immediately stop a determined threat, allowing the suspect to continue their assault or escape. Center-mass hits are preferred for a higher probability of rapid incapacitation.

What role did less-lethal options play in the Van Nuys incident?

Deputies attempted a baton strike to the suspect's peroneal nerve, which was ineffective. A taser was subsequently deployed, successfully incapacitating the suspect for arrest.

What is the OODA loop and why is it important in tactical situations?

The OODA loop (Observe, Orient, Decide, Act) describes the decision-making cycle in combat and high-stress situations. A faster loop allows for quicker responses, with a draw-to-first-shot standard of 1-1.5 seconds being emphasized.

More Tactical & Gear Videos You Might Like

More from Active Self Protection

View all →