Colt 1911 Parkerize and Restore: Anvil 0107

Published on December 24, 2021
Duration: 21:49

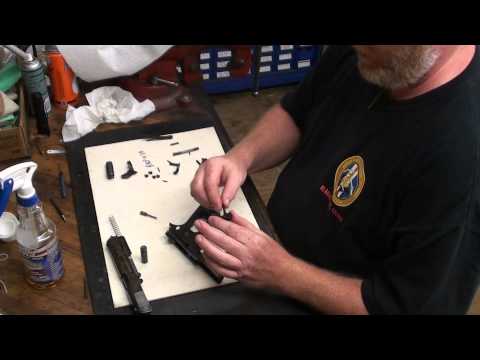
This guide details the process of Parkerizing and restoring a Colt 1911, drawing on the expertise of Mark Novak. It covers complete disassembly, surface preparation via bead blasting, the chemical Parkerizing process using Brownells Zinc Phosphate solution, post-treatment, lubrication with Freedom Lube and Lucas Oil, and reassembly. The video emphasizes the importance of meticulous cleaning and preparation for a durable and historically accurate finish, suitable for a high-quality shooter grade firearm.

Quick Summary

Restoring a Colt 1911 involves complete disassembly, bead blasting for surface preparation, and chemical Parkerizing using a zinc phosphate solution. Post-treatment with water-displacing oil and proper lubrication with products like Freedom Lube or Lucas Oil are essential for a durable, historically accurate finish suitable for a high-quality shooter.

Chapters

  1. 00:00Introduction and Test Fire
  2. 00:54Firearm Identification and History
  3. 04:13Detailed Disassembly
  4. 11:01Surface Preparation
  5. 12:47The Parkerizing Process
  6. 14:55Post-Treatment and Lubrication
  7. 18:16Conclusion and Value Assessment

Frequently Asked Questions

What is the recommended finish for restoring a Colt 1911 for a historically appropriate look?

A zinc phosphate Parkerized finish is recommended for a historically appropriate grey-to-black tone on Colt 1911 restorations. This process involves chemical treatment after surface preparation like bead blasting.

What are the key steps in Parkerizing a Colt 1911?

Key steps include complete disassembly, thorough cleaning, bead blasting for surface preparation, submersion in a boiling zinc phosphate solution, rinsing, and treatment with water-displacing oil.

Why is complete disassembly crucial before Parkerizing a 1911?

Complete disassembly is crucial because trapped oil or contaminants under parts can ruin the Parkerizing process through capillary action, leading to an uneven or defective finish.

What is the significance of 'FJA' and 'AA' markings on a Colt 1911A1?

'FJA' signifies inspection by Col. Frank J. Atwood, often indicating Ithaca Gun Company production around 1943. 'AA' denotes an arsenal rebuild, such as at Augusta Arsenal, indicating refurbishment.

Related News

All News →

More Gunsmithing & DIY Videos You Might Like

More from Mark Novak

View all →