ECM R11 & Norsso 3.7” XL

Published on July 22, 2025
Duration: 2:53

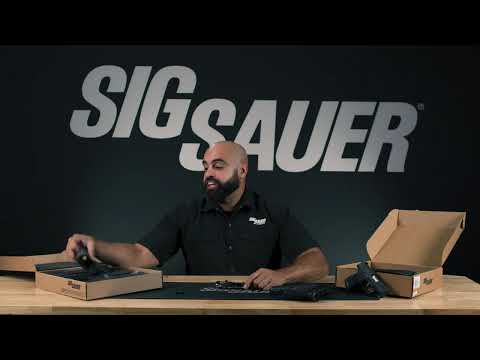
This guide details the assembly of a custom SIG Sauer P365 pistol build, as demonstrated by Roger Barrera. It covers the installation of the Fire Control Unit (FCU) into an XMACRO grip module, the assembly of a Norsso R11 slide with a Norsso barrel, and the mounting of a Holosun 407K X2 optic and Surefire XC3-A weapon light. The process emphasizes using specialized tools like a Wheeler Engineering FAT Wrench for precise torque application and applying witness marks for security checks.

Quick Summary

This guide details the assembly of a custom SIG Sauer P365, including installing the FCU into an XMACRO grip, mounting a Norsso R11 slide with a Norsso barrel, and attaching a Holosun 407K X2 optic and Surefire XC3-A light. Key steps involve using a torque wrench for optic screws and applying witness marks for security checks.

Chapters

  1. 00:00Introduction & Component Layup
  2. 00:13FCU Installation in Grip
  3. 00:35Barrel & Slide Assembly
  4. 00:58Pistol Assembly & Function Check
  5. 01:15Optic Installation
  6. 01:35Witness Marking Optic Screws
  7. 01:58Weapon Light Installation
  8. 02:25Final Product Overview
  9. 02:34Loaded Magazine Function Check

Frequently Asked Questions

What are the key components for building a custom SIG Sauer P365 as shown in the video?

The build includes a SIG Sauer P365 Custom Works FCU, P365 XMACRO grip module, Norsso R11 P365XL slide, Holosun 407K X2 optic, Norsso 3.7" 9mm GEO Port Bull Barrel, and a Surefire XC3-A weapon light.

How is the Holosun 407K X2 optic installed on the Norsso slide?

The Holosun 407K X2 is installed by applying threadlocker to its mounting screws, carefully positioning it on the slide, and then torquing the screws to specification using a Wheeler Engineering FAT Wrench. Witness marks are applied afterward.

What is the purpose of witness marks on optic screws?

Witness marks, applied with a permanent marker, serve as a visual indicator on optic mounting screws and the surrounding slide. They allow for a quick check to ensure the screws have not loosened due to firearm recoil, maintaining optic zero and safety.

What safety precautions should be taken during firearm assembly?

Always ensure the firearm is completely unloaded before starting. Visually and physically confirm the chamber and magazine well are clear of ammunition. Maintain muzzle discipline, keeping the firearm pointed in a safe direction throughout the entire assembly process.

Related News

All News →

More Gunsmithing & DIY Videos You Might Like

More from Roger Barrera (QVO Tactical)

View all →