Field Stripping Select-Fire HK-33 .223 / 5.56mm Battle Rifle Machine Gun HK33 #military #army #gun
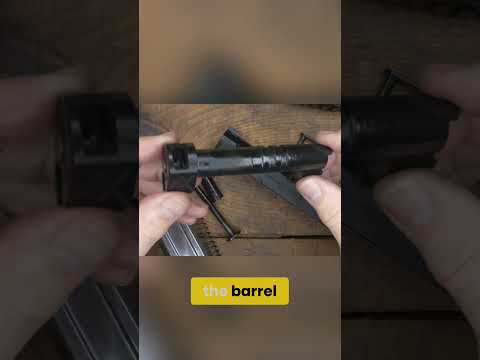
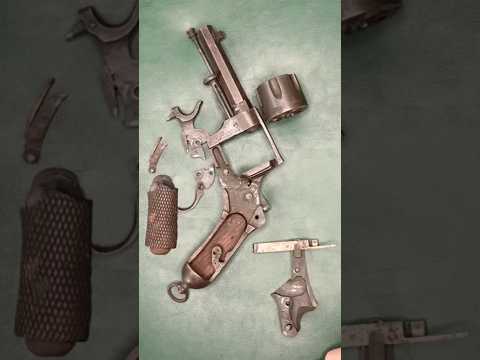
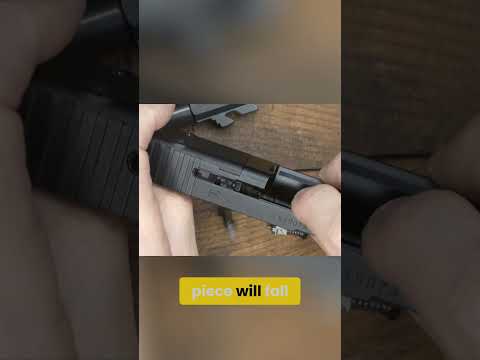
Published on March 18, 2024
Duration: 1:00

This video provides a detailed field stripping guide for the select-fire HK-33 battle rifle. It covers the systematic disassembly process, starting with safety checks and magazine removal, then proceeding to stock, trigger group, and bolt carrier group removal. The guide also details the disassembly of the bolt head, locking piece, and handguard, highlighting the roller-delayed blowback system.

Quick Summary

To field strip an HK-33, first ensure the firearm is unloaded by removing the magazine and clearing the chamber. Then, remove the rear push pin to detach the stock and recoil spring assembly, followed by the trigger housing/pistol grip.

Chapters

  1. 00:00Clearing and Safety Check
  2. 00:05Stock and Recoil Spring Removal
  3. 00:15Trigger Group Disassembly
  4. 00:20Bolt Carrier Group Removal
  5. 00:25Handguard Removal
  6. 00:35Bolt Head and Locking Piece Disassembly

Frequently Asked Questions

What are the first steps for field stripping an HK-33?

Begin by removing the magazine and cycling the charging handle to ensure the chamber is clear. Then, remove the rear push pin to detach the stock and recoil spring assembly from the receiver.

How is the bolt carrier group removed from the HK-33?

After removing the stock and trigger group, the bolt carrier group is slid out from the rear of the receiver. This component is central to the rifle's roller-delayed blowback action.

What components are involved in the HK-33's roller-delayed blowback system?

The system includes the bolt carrier group, bolt head, and locking piece. Disassembly involves rotating and removing the bolt head from the carrier, followed by the locking piece, firing pin, and its spring.

What is the significance of the trigger group disassembly on the HK-33?

Detaching the trigger housing/pistol grip assembly reveals the internal fire control components. This step is necessary for accessing and maintaining the trigger mechanism and selector switch.

Related News

All News →

More Gunsmithing & DIY Videos You Might Like

More from Ordnance

View all →