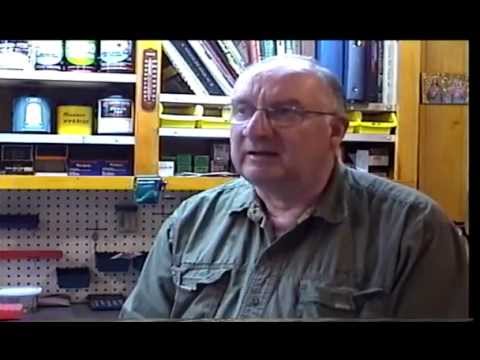
Frankford Arsenal X-10 ~ #2 How to Bench Mount This Beauty!

Published on August 18, 2023
Duration: 22:25

This guide details the process of securely bench-mounting the Frankford Arsenal X-10 Progressive Press. It emphasizes the importance of a sturdy bench, proper hole preparation using Forstner and standard bits, and correct bolt selection. The presenter, with apparent expertise in mechanical assembly, advises on firm but not excessive tightening of fasteners and careful reinstallation of components like the die head, highlighting the press's smooth operation.

Quick Summary

To bench mount the Frankford Arsenal X-10 Progressive Press, ensure your bench is extremely sturdy. Use a template for precise hole placement, starting with a Forstner bit for clean holes. Mount with 3/8 inch bolts, tightening them firmly but avoiding over-torque, especially on plastic components. Avoid power drivers for side panels to prevent damage.

Chapters

  1. 00:00Introduction & Bench Requirements
  2. 00:49Preparing the Bench Top & Drilling Holes
  3. 01:30Using Forstner Bits for Precision
  4. 02:19Spent Primer Management
  5. 02:30Template Use & Flush Mounting
  6. 03:02Drilling Techniques & Bit Selection
  7. 03:40Mounting Plate Considerations
  8. 04:16Removing Side Panels & Material Quality
  9. 05:07Detailed Side Panel Fabrication
  10. 06:24Bolt & Nut Installation
  11. 06:46Tightening Bolts & Allen Wrench Use
  12. 07:06Reading Instructions & Assembly Tips
  13. 08:19Carriage Bolt Installation
  14. 09:02Bolt Length & Washer Use
  15. 09:57Press Weight & Torque Considerations
  16. 10:41Shimming Bolts & Final Tightening
  17. 11:52Checking for Interference
  18. 12:27Reattaching Side Plates
  19. 13:32Avoiding Power Drivers & Fine Threads
  20. 14:35Side Panel Finish & Functionality
  21. 15:47Built-in Primer Swager Benefit
  22. 17:09Installing the Retention Pin
  23. 18:06Reinstalling the Die Head
  24. 19:09Testing Press Smoothness
  25. 20:04Concluding Remarks & Call to Action

Frequently Asked Questions

What are the key considerations for mounting a reloading press like the Frankford Arsenal X-10?

Mounting a reloading press requires a very sturdy, well-reinforced bench to prevent rocking. Proper hole alignment using a template and appropriate drill bits (like Forstner bits for precision) is essential. Ensure bolts are the correct length and avoid over-tightening fasteners, especially on plastic components.

What type of drill bits are recommended for mounting the Frankford Arsenal X-10?

For precise hole starting, a Forstner bit (e.g., 3/8 inch) is recommended to create clean, flat-bottomed holes without shredding materials like tempered masonite. A standard drill bit of the same size is then used to complete the holes.

Can I use a power drill to attach the side panels of the Frankford Arsenal X-10?

It is strongly advised against using a power drill for the side panel screws. These panels are made of high-grade plastic with fine threads. Using a hand driver (like a 2.5mm Allen driver) allows for better control, preventing over-torquing, stripping threads, or cracking the plastic.

Does the Frankford Arsenal X-10 require a separate primer swager?

No, the Frankford Arsenal X-10 features a built-in primer swager. This integrated function eliminates the need for an additional tool, saving cost and simplifying the reloading process.

More Gunsmithing & DIY Videos You Might Like

More from GunBlue490

View all →