How to Make a New Firing Pin from Drill Rod | MidwayUSA Gunsmithing

Published on April 30, 2009
Duration: 1:31

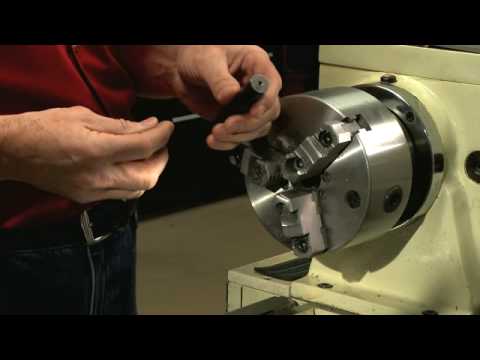
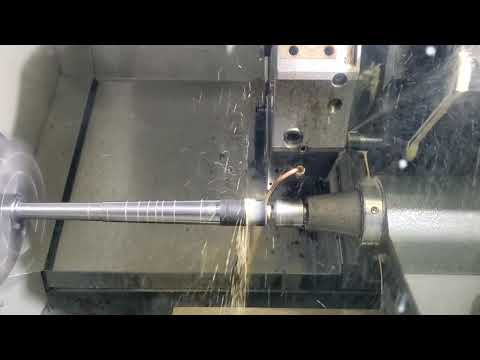
Larry Potterfield, founder of MidwayUSA, demonstrates a practical gunsmithing technique for fabricating a new firing pin from drill rod. This guide covers essential machining steps on a lathe, including turning diameters and marking with layout dye, followed by shaping, finishing, and crucial heat treatment via torch and oil quench to ensure durability. The process highlights how common issues like a broken firing pin can be resolved with basic tools and methodical execution.

Quick Summary

Learn to craft a custom firing pin from drill rod using a lathe and heat treatment. This MidwayUSA guide by Larry Potterfield covers squaring the rod, turning diameters, marking with layout dye, shaping, and hardening the pin through torch heating and oil quenching for durability.

Chapters

  1. 00:00Introduction: Broken Firing Pin Problem
  2. 00:19Machining: Turning the Pin Blank
  3. 00:32Marking: Using Layout Dye
  4. 00:48Shaping: Filing and Notching
  5. 01:03Heat Treating: Hardening the Pin

Frequently Asked Questions

What material is best for making a custom firing pin?

Drill rod is a suitable material for fabricating custom firing pins due to its hardness and machinability. It can be precisely shaped on a lathe and then heat-treated for durability.

What are the key steps in heat treating a firing pin?

To heat treat a firing pin, it should be heated to a dull red color using a torch and then rapidly quenched in oil. This process hardens the metal, increasing its resistance to wear and breakage.

What tools are essential for making a firing pin from scratch?

Essential tools include a lathe with a three-jaw chuck, carbide bits for cutting, layout dye for marking, a hacksaw for cutting to length, and a torch for heat treatment. Hand files are also needed for shaping.

Why is marking the metal with layout dye important?

Layout dye, such as Dykem Steel Blue, is applied to the metal rod to provide a contrast surface. This allows for precise marking of lines and centers, which is critical for accurately turning diameters and shaping the firing pin's shoulder and tip.

More Gunsmithing & DIY Videos You Might Like

More from MidwayUSA

View all →