Our Non-Ambidextrous Gen 5 Extended Slide Stop

Published on June 18, 2025
Duration: 11:16

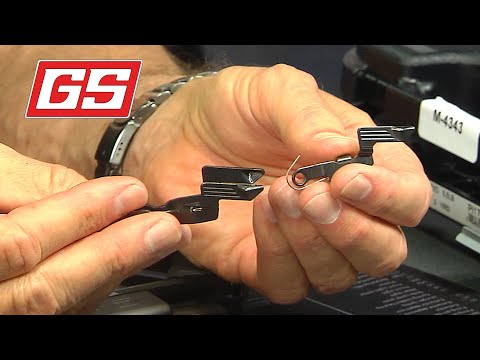
This guide details the installation of a non-ambidextrous extended slide stop on a Glock Gen 5 firearm. It covers the complete disassembly process, including removing the slide, trigger housing pin, and locking block, followed by the installation of the new slide stop and reassembly. The video emphasizes proper alignment and the importance of the slide stop engaging its notches for correct function.

Quick Summary

Installing a non-ambidextrous extended slide stop on a Glock Gen 5 involves ensuring the firearm is unloaded, removing the slide, trigger housing pin, and locking block. The new slide stop is then inserted, components realigned, and the pin reinserted and tapped into place, ensuring it clicks to confirm proper engagement.

Chapters

  1. 00:00Introduction to Extended Slide Stops
  2. 00:14Glock Gen 5 Ambidextrous Slide Stop Issues
  3. 00:41Benefits of Extended Slide Stops
  4. 01:15Using the Slide Stop
  5. 02:01Why a Non-Ambidextrous Option?
  6. 03:04Introducing the 'One-Arm Bandit' Slide Stop
  7. 03:31Slide Stop Installation Guide
  8. 03:40Firearm Disassembly Steps
  9. 04:25Removing the Trigger Housing Pin
  10. 05:15Dealing with Notches on the Pin
  11. 06:11Removing the Locking Block
  12. 06:28Removing the Old Slide Stop
  13. 06:35Installing the New Slide Stop
  14. 06:53Reinstalling the Locking Block
  15. 07:00Aligning Components for Pin Insertion
  16. 08:02Inserting the Trigger Housing Pin
  17. 08:45Confirming Pin Engagement (Click)
  18. 09:06Why Most Prefer Non-Ambidextrous
  19. 09:40Reassembling the Firearm
  20. 10:00Testing the New Slide Stop
  21. 10:10Accuracy and Grip Importance
  22. 10:32Glock Store Nashville Location

Frequently Asked Questions

Why would someone want a non-ambidextrous extended slide stop for their Glock Gen 5?

Many right-handed shooters find the factory ambidextrous slide stop on the Glock Gen 5 can interfere with holsters or feel bothersome on their grip. A non-ambidextrous extended version removes the left-side protrusion, offering a cleaner profile and easier manipulation without altering the shooting grip.

What are the main steps to install a new slide stop on a Glock Gen 5?

Installation involves ensuring the firearm is unloaded, removing the slide, then carefully removing the trigger housing pin and locking block. The old slide stop is then removed, the new one inserted, and components are reassembled, ensuring proper alignment before reinserting the pin.

What tools are needed to install a Glock Gen 5 extended slide stop?

Essential tools for installing a Glock Gen 5 extended slide stop include a punch set for removing pins and a nylon-tipped hammer for gently tapping them back into place. Armorers tape can also be helpful for grip and protection.

How do I know if the new slide stop pin is correctly installed?

Proper installation is confirmed when the trigger housing pin is fully seated and flush on both sides. You should also hear a distinct 'click' as the pin engages the notches in the slide stop, indicating it's locked into place.

More Gunsmithing & DIY Videos You Might Like

More from GlockStore

View all →