Ruger® LC Carbine™ Disassembly Tech Tip

Published on September 21, 2022
Duration: 3:32

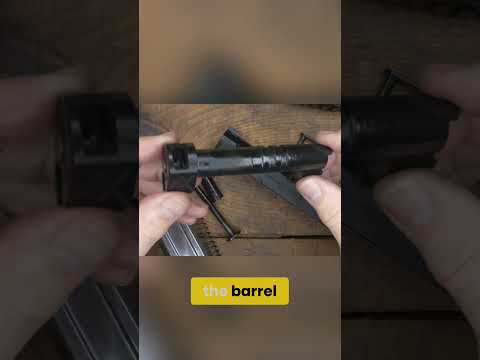
This guide details the step-by-step disassembly process for the Ruger LC Carbine. It covers clearing the firearm, removing the grip frame, bolt components, recoil spring, handguard, and stock, emphasizing the use of included tools and essential safety precautions.

Quick Summary

To disassemble the Ruger LC Carbine, first ensure it's clear by removing the chamber flag and visually inspecting the chamber. Then, remove the disassembly pin, slide off the grip frame assembly, and remove the two-piece bolt. The recoil spring, handguard, and stock are removed using the included tools.

Chapters

  1. 00:00Introduction and Safety
  2. 00:24Ensuring Firearm is Clear
  3. 00:47Removing Disassembly Pin
  4. 01:03Removing Grip Frame Assembly
  5. 01:18Removing Rear Bolt
  6. 01:49Removing Recoil Spring Assembly
  7. 02:03Removing Front Bolt
  8. 02:19Removing Handguard
  9. 02:59Removing Stock
  10. 03:19Conclusion

Frequently Asked Questions

What are the first steps for disassembling a Ruger LC Carbine?

Begin by ensuring the firearm is completely clear of ammunition. Remove any chamber flags, pull the charging handle to the rear, lock the bolt, and visually inspect the chamber to confirm it is empty. Then, ease the bolt forward and ensure the firearm is on safe before proceeding.

How do you remove the bolt from the Ruger LC Carbine?

The Ruger LC Carbine has a two-piece bolt. First, remove the rear bolt by pulling the charging handle to the rear, moving the bolt past the barrel's breech end, and then pulling up on it. After easing the charging handle forward, remove the front bolt similarly by pulling the charging handle back.

What tools are needed to disassemble the Ruger LC Carbine?

The Ruger LC Carbine comes with included disassembly tools. Additionally, an included Allen wrench is required to remove the screws for the handguard and the stock.

What is the procedure for removing the grip frame assembly on a Ruger LC Carbine?

After pushing out the disassembly pin, turn the firearm over. Pull back on the grip frame assembly approximately a quarter inch. It should then slide off easily, allowing you to set it aside as no further work is needed on it for basic disassembly.

Related News

All News →

More Gunsmithing & DIY Videos You Might Like

More from RugerFirearms

View all →