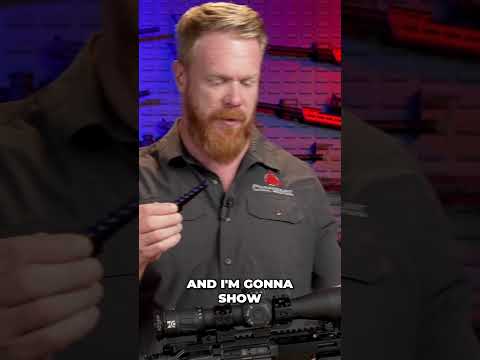
Installing a Bubble Level on the Area 419 Scope Mount

Published on December 5, 2024
Duration: 0:28

This guide details the process of installing a bubble level onto an Area 419 scope mount, emphasizing the use of Vibratite threadlocker for secure attachment. The instructor, demonstrating expert knowledge, explains practical placement considerations for shooters and highlights the included fasteners. The video provides clear, actionable steps for enhancing scope setup.

Quick Summary

Install a bubble level on your Area 419 Scope Mount by applying Vibratite threadlocker to the included fasteners. For right-handed shooters, place the level on the side opposite your dominant hand for optimal visibility and a secure, vibration-resistant setup.

Chapters

  1. 00:04Introducing Bubble Level Installation
  2. 00:06Bubble Level Placement for Shooter
  3. 00:16Fasteners Included with Bubble Level
  4. 00:19Using Vibratite on Fasteners

Frequently Asked Questions

How do you install a bubble level on an Area 419 scope mount?

To install a bubble level on an Area 419 scope mount, first ensure the firearm is unloaded. Apply Vibratite threadlocker to the included fasteners, then attach the bubble level to the desired side of the scope mount.

What is the best placement for a bubble level on a scope mount?

For a right-handed shooter, the bubble level is typically placed on the side of the scope mount opposite the shooter's dominant hand. This placement allows for easy visual reference without obstructing the shooting position.

Why is Vibratite recommended for scope mount accessories?

Vibratite is recommended for securing fasteners on scope mounts because it acts as a threadlocker. This prevents screws from loosening due to recoil and vibration, ensuring the accessory remains stable and reliable.

More Tactical & Gear Videos You Might Like

More from Paramount Tactical

View all →