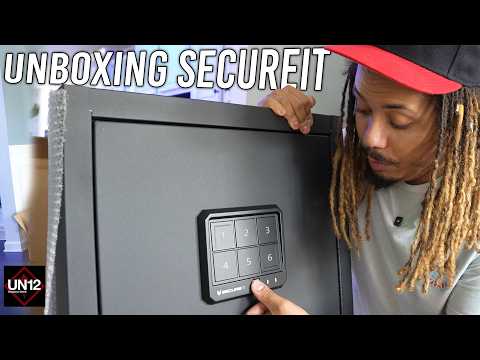
SecureIt Agile 52 Pro Guns 'n' Gear Stack with Top Cabinet Installation

Published on June 29, 2025
Duration: 12:37

This guide details the installation of the SecureIt Agile 52 Pro Guns 'n' Gear Stack, including the top cabinet. It covers assembling the main safe structure by connecting panels and securing them with lock rails and hex screws. The process also includes installing internal components like stock bases and adjustable rifle cradles, followed by the attachment of the top cabinet and various accessories such as pistol organizers and LED lighting.

Quick Summary

The SecureIt Agile 52 Pro gun safe installation involves assembling the base, C section, side panels, and front panel using lock rails and hex screws, followed by the top panel and top cabinet. Adjustable rifle cradles and accessories like LED lights can then be added for customized storage.

Frequently Asked Questions

How do you assemble the SecureIt Agile 52 Pro gun safe?

Assembly involves attaching the base, C section, side panels, and front panel using lock rails and hex screws. The top panel and top cabinet are then secured. Internal components like stock bases and adjustable rifle cradles are installed last. Always hand-tighten initially before final tightening.

What are the key steps for installing the SecureIt Agile 52 Pro's top cabinet?

To install the top cabinet, align its pre-drilled holes with those on the main safe. Then, secure it using the provided hardware. This adds an extra layer of storage for gear and accessories above the main safe compartment.

What accessories are available for the SecureIt Agile 52 Pro safe?

Available accessories include a pistol door cover, molly panels for gear, shelves, metal hooks, and rechargeable LED light bars. These enhance organization and usability, especially in low-light conditions.

What safety precautions should be taken during SecureIt Agile 52 Pro installation?

The safe is front-heavy when the door is open, so it's recommended to have two people assist with assembly, particularly when attaching the front panel, to prevent tipping and ensure stability.

Related News

All News →

More Tactical & Gear Videos You Might Like

More from UN12 Magazine

View all →