Helping a New Shooter on the Range

Published on August 10, 2024
Duration: 44:42

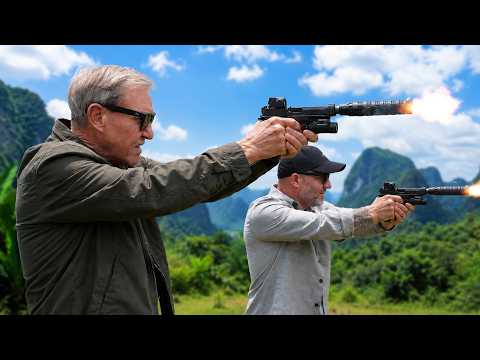
This video details a four-point presentation draw technique for red dot equipped pistols, emphasizing smooth transitions between stages and proper trigger control. It highlights the importance of stance, grip, and bringing the red dot to the eye rather than the eye to the dot. The instruction is provided by Roger Barrera, a firearms instructor with extensive experience.

Quick Summary

Firearms instructor Roger Barrera explains the four-point presentation draw technique for red dot pistols, emphasizing a proper stance, grip, and bringing the dot to the eye. He also covers trigger control, recoil management with bent elbows, and the benefits of zeroing at 10 yards for defensive shooting.

Chapters

  1. 00:00Introduction: Helping a New Shooter with Red Dots
  2. 01:45Demoing the Build Drill
  3. 03:24Nick's First Build Drill Performance Analysis
  4. 05:16Zeroing Handgun Red Dots Explained
  5. 08:04Zeroing Nick's Sig P365X Macro
  6. 10:53Barrel Manufacturing Differences: Staccato vs. Sig
  7. 12:16Improving Stance for Shooting
  8. 14:27Fixing Arm Position and Elbow Bend
  9. 15:17Third Build Drill Attempt with Improvements
  10. 16:35Isolating Trigger Control Practice
  11. 18:19Four-Point Presentation Draw Technique Breakdown
  12. 21:52Practicing the Four-Point Draw (Dry Fire)
  13. 29:49Dry Fire Drill: Finding the Dot
  14. 30:09Live Fire: Improved Draw and Accuracy
  15. 32:40Slow Fire 'Click Bang' Drill
  16. 34:12End of Range Session: Fatigue and Diminishing Returns
  17. 35:57Testing the Primary Arms ACSS Reticle
  18. 39:2860 Yard Shooting Comparison: Staccato vs. P365X Macro
  19. 41:45Final Thoughts and Takeaways
  20. 43:47Appreciation and Outro

Frequently Asked Questions

What is the recommended zero distance for a handgun red dot optic for defensive use?

For defensive handgun use, zeroing your red dot optic at 10 yards is recommended. This distance is statistically relevant as most defensive encounters occur within 6-10 feet, and a 10-yard zero provides a precise and practical aiming point for close-quarters engagements.

How can a new shooter improve their stance for better firearm control?

A more aggressive stance with feet shoulder-width apart and the right leg slightly back provides better leverage and stability. Think of it like pushing a car; this wider base helps manage recoil and maintain control during the shot.

What is the four-point presentation draw technique?

The four-point presentation draw involves four distinct stages: 1) Grip and safety engagement, 2) Clearing the holster and presenting downrange, 3) Marrying hands at the chest (high compressed ready), and 4) Full extension with trigger prep. This method aims for smooth, controlled transitions.

Why is a slight bend in the elbows important when shooting a pistol?

Maintaining a slight bend in the elbows, rather than straight arms, is crucial for absorbing recoil. This technique acts like shock absorbers, allowing for better control, reduced fatigue, and more fluid transitions between shots and targets.

Related News

All News →

More Training & Techniques Videos You Might Like

More from Roger Barrera (QVO Tactical)

View all →