Quick Tip: Hasty Handgun Optic Zero

Published on April 25, 2025
Duration: 4:25

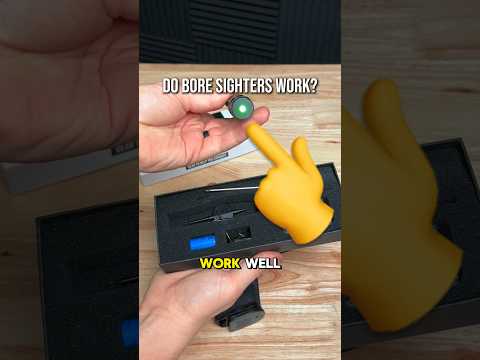
This video provides a quick tip for zeroing a red dot optic on a concealed carry handgun, specifically the P365X Macro Comp. Instructor Jude from Brownells demonstrates a hasty zeroing technique starting by aligning the optic with iron sights, then firing groups at 15 yards and making incremental adjustments to elevation and windage until the point of impact matches the point of aim. The method emphasizes getting on paper quickly and fine-tuning for effective concealed carry distances.

Quick Summary

To quickly zero a red dot sight on a handgun, align the reticle with iron sights, fire a group at 15 yards, and make incremental elevation and windage adjustments until the point of impact matches the point of aim. A 15-yard zero is practical for concealed carry.

Chapters

  1. 00:10Introduction & Firearm
  2. 00:15Quick Tip: Red Dot Zero
  3. 00:21Initial Optic Alignment
  4. 00:39First Shots & Analysis
  5. 00:41Zeroing at 15 Yards
  6. 00:53Elevation Adjustments
  7. 01:13Further Adjustments
  8. 01:45Group Analysis & Windage
  9. 02:06Confirming Zero
  10. 02:44Final Group Assessment
  11. 03:01Dialing It In
  12. 03:25Successful Zero
  13. 03:35Confirmation Shot
  14. 03:56Key Takeaways
  15. 04:17Conclusion

Frequently Asked Questions

How do you quickly zero a red dot sight on a handgun?

Start by aligning the red dot reticle with your iron sights using the optic's adjustment tool. Then, fire a group at 15 yards and make incremental adjustments to elevation and windage based on your shot group's position relative to your aim point.

What is a good zero distance for a concealed carry handgun?

For concealed carry handguns, a 15-yard zero is often recommended. This distance is practical for most self-defense encounters and ensures that your shots will land within the vital 'A-zone' of a target.

What tools are needed to zero a red dot optic?

You will need the adjustment tool that typically comes with your red dot optic, your firearm, ammunition, and a target. A marker can be helpful for identifying new shots on a crowded target.

How do you adjust a red dot sight for elevation and windage?

Use the small screws on the optic, usually marked 'E' for elevation and 'W' for windage. Turn the screws according to the optic's manual (often clockwise to move the point of impact up or right) and fire to confirm adjustments.

Related News

All News →

More Training & Techniques Videos You Might Like

More from Brownells, Inc.

View all →