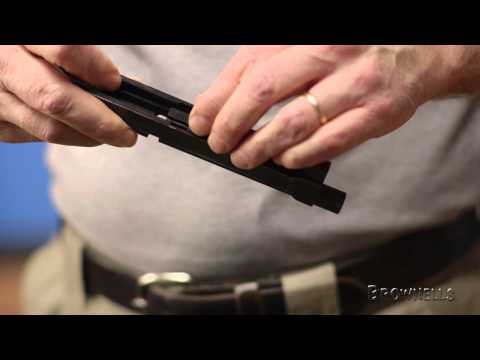
Making the Beretta M9 Tacticool-er! (Combat Hammer Install)

Published on August 23, 2016
Duration: 6:28

This video details the process of replacing the standard hammer on a Beretta M9 with a Beretta Elite II skeletonized hammer. The instructor highlights the ease of this modification on the M9 platform, emphasizing how it can contribute to a slightly lighter hammer and potentially improve cycling speed. The guide covers removing grips, slide, lanyard loop, hammer pin, and then installing the new hammer and reassembling the firearm.

Quick Summary

Replacing the hammer on a Beretta M9 is a straightforward DIY gunsmithing task. The process involves removing grips, slide, and lanyard loop to relieve mainspring tension, then removing the hammer pin to swap the old hammer for a new one, such as a lighter skeletonized Beretta Elite II model, before reassembly.

Chapters

  1. 00:00Introduction & Previous Mods
  2. 00:41Hammer Replacement Overview
  3. 01:18Introducing the Elite II Hammer
  4. 01:48Step 1: Removing Grips
  5. 02:47Step 2: Removing Slide
  6. 02:52Step 3: Relieving Mainspring Tension
  7. 03:01Step 4: Removing Hammer Pin
  8. 03:09Step 5: Removing Old Hammer
  9. 03:15Step 6: Installing New Hammer
  10. 03:21Step 7: Reinserting Hammer Pin
  11. 03:28Step 8: Reinstalling Lanyard Loop
  12. 03:43Before & After Comparison
  13. 03:51Final Thoughts & Carry Considerations
  14. 04:20Modification Liability Discussion
  15. 04:49Winter Carry Plans

Frequently Asked Questions

How difficult is it to change the hammer on a Beretta M9?

The instructor states that changing the hammer on a Beretta M9 is significantly easier than on any other firearm they have worked on. The process is straightforward and can be completed relatively quickly, even when demonstrating it on camera.

What are the benefits of installing a skeletonized hammer on a Beretta M9?

A skeletonized hammer, like the Beretta Elite II model shown, is lighter than the standard hammer. This reduced weight can contribute to a slightly faster slide cycling speed, especially when combined with other modifications like a stronger recoil spring and reduced hammer spring resistance.

What are the essential steps for installing a new hammer on a Beretta M9?

The process involves removing the pistol grips, then the slide. Next, relieve mainspring tension by removing the lanyard loop, followed by removing the hammer pin. The old hammer is then removed, the new hammer installed, the pin reinserted, the lanyard loop replaced, and finally, the slide and grips are reassembled.

Are there any safety or liability concerns with modifying a Beretta M9 hammer?

The instructor advises using off-the-shelf, manufacturer-approved parts for modifications to limit liability. While personal modifications can enhance a firearm for specific needs like self-defense, sticking to reputable components generally keeps the firearm within acceptable specifications.

More Gunsmithing & DIY Videos You Might Like

More from TheYankeeMarshal

View all →