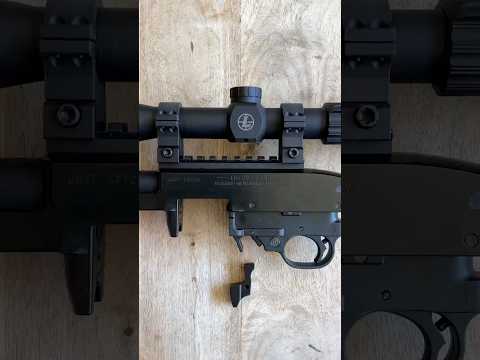
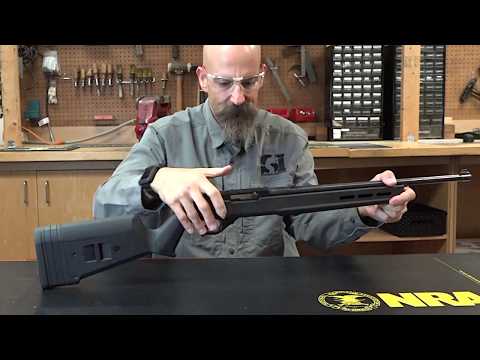
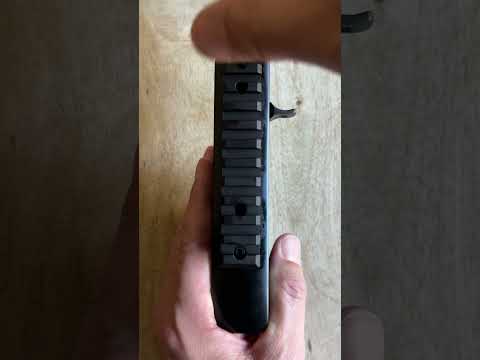
Quick Tip: Crossfire 10/22 Magazine Release Installation

Published on May 24, 2024
Duration: 6:36

This guide details the installation of a Crossfire Shooting Products extended magazine release lever for the Ruger 10/22 and its variants. The process involves safely disassembling the firearm, removing the old magazine release, and installing the new, larger paddle for improved magazine changes, particularly beneficial for competition shooting. The installation requires basic tools and careful attention to pin alignment during reassembly.

Quick Summary

Installing a Crossfire extended magazine release on a Ruger 10/22 enhances reload speed, ideal for competition. The process involves safely unloading the firearm, removing the action from the stock, replacing the old release with the new one, and reassembling. Key steps include setting the safety to the middle position and ensuring proper pin alignment during reassembly.

Chapters

  1. 00:04Introduction & Product Overview
  2. 00:38Safety Check & Stock Removal
  3. 01:33Removing Action & Trigger Group
  4. 02:15Old Magazine Release Removal
  5. 03:02New Magazine Release Installation
  6. 04:06Reassembly of Trigger Group & Action
  7. 05:03Reinstalling Pins & Final Assembly
  8. 05:52Final Tightening & Conclusion

Frequently Asked Questions

What is the primary benefit of installing an extended magazine release on a Ruger 10/22?

An extended magazine release lever, like the Crossfire model for the Ruger 10/22, offers a larger paddle for easier and faster magazine changes. This upgrade is particularly beneficial for competitive shooting where speed is crucial for reloads.

What tools are needed to install a Crossfire extended magazine release on a Ruger 10/22?

The installation of a Crossfire extended magazine release on a Ruger 10/22 typically requires a hex wrench for the action screw and a punch to remove and install the magazine release pin. A torque wrench is recommended for final tightening of the action screw.

What is a critical safety step before disassembling a Ruger 10/22 for modification?

Before any disassembly or modification, it is crucial to ensure the firearm is completely unloaded. This involves pulling the charging handle back and visually inspecting the chamber to confirm it is empty. Always repeat this safety check.

How can I ensure the pins for the trigger group and magazine release go in smoothly during reassembly?

If pins are tight during reassembly, try manipulating the bolt catch lever. This can help align the internal components, allowing the pins to seat properly. Ensure the safety selector is in the middle position for easier alignment.

Related News

All News →

More Gunsmithing & DIY Videos You Might Like

More from Brownells, Inc.

View all →