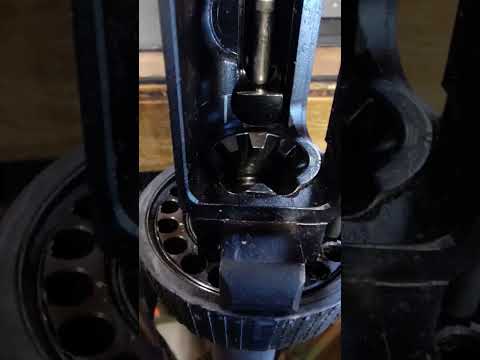
Ruger® Single Action Revolver Cylinder Removal Tech Tip

Published on November 19, 2021
Duration: 1:13

This guide details the straightforward process of removing and reinstalling the cylinder on a Ruger single-action revolver, as demonstrated by Ruger Firearms. It emphasizes critical safety checks, including visually confirming the firearm is unloaded. The procedure involves manipulating the base pin latch to extract and reinsert the base pin, allowing for cylinder removal and reattachment.

Quick Summary

To safely remove the cylinder from a Ruger single-action revolver, first confirm it's unloaded. Depress the base pin latch, slide the base pin out, and then lift the cylinder from the frame. Reinstallation involves reversing these steps.

Chapters

  1. 00:00Introduction to Ruger Tech Tips
  2. 00:18Crucial Safety Check: Unloading the Revolver
  3. 00:29Step-by-Step Cylinder Removal
  4. 00:44Cylinder Reinstallation Guide

Frequently Asked Questions

How do you safely remove the cylinder from a Ruger single-action revolver?

First, ensure the revolver is completely unloaded by opening the gate and checking all chambers. Then, depress the base pin latch and slide the base pin out. The cylinder can then be lifted from the frame.

What is the key component for cylinder removal on Ruger single-action revolvers?

The key component is the base pin latch. Depressing this latch allows the base pin to be slid out, which in turn frees the cylinder for removal from the revolver's frame.

What is the correct procedure for reinstalling a Ruger single-action revolver cylinder?

Place the cylinder into the frame. Lift the cylinder slightly while pressing the base pin latch, then slide the base pin back into place until it is fully seated.

Related News

All News →

More Gunsmithing & DIY Videos You Might Like

More from RugerFirearms

View all →