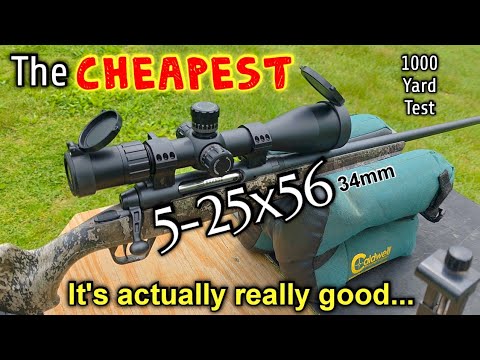
Mounting an Optic on a Long Range Precision Rifle| Gun Talk

Published on April 12, 2018
Duration: 3:47

This guide details the critical steps for properly mounting an optic on a long-range precision rifle. It emphasizes setting correct eye relief by adjusting the optic's position on the rifle before using a specialized leveling device to ensure the optic is perfectly level. Proper torque and alignment marks are crucial for consistent performance at extended distances.

Quick Summary

Properly mounting a long-range rifle optic involves setting correct eye relief for a clear, shadow-free sight picture and ensuring the scope is perfectly level using a leveling device. This critical setup prevents accuracy issues at extended distances.

Chapters

  1. 00:05Introduction to Long Range Shooting Setup
  2. 00:26Importance of Optic Mounting
  3. 00:29Rifle and Optic Setup
  4. 00:51Setting Eye Relief
  5. 01:35Using the Scope Setter Device
  6. 01:49Leveling the Optic
  7. 02:46Confirming Level Rings and Optic
  8. 02:53Torquing Optic Screws
  9. 03:02Remounting Optic on Rifle
  10. 03:16Marking Optic Position
  11. 03:27Final Torque and Next Steps

Frequently Asked Questions

What is the first step in mounting a long-range rifle optic?

The first critical step is setting the correct eye relief. This involves shouldering the rifle naturally and adjusting the optic's position forward or backward until you achieve a clear, shadow-free sight picture through the scope.

Why is it important to level a rifle scope?

Leveling the scope ensures that your vertical and horizontal adjustments translate directly to bullet impact. An unlevel scope can cause shots to drift unexpectedly, especially at longer distances, making accurate aiming and holdovers difficult.

What tools are needed to properly mount and level a rifle optic?

Essential tools include a rifle vise for stability, optic rings, a scope leveling device (like a Scope Setter), a bubble level, a torque wrench to ensure proper screw tightness, and a paint pen for marking alignment.

How do you ensure the optic stays in the correct position after mounting?

After setting eye relief and leveling, lightly tighten the ring screws. Once torqued, it's recommended to use a paint pen to make alignment marks from the mount onto the rifle's picatinny rail. This ensures you can remount the optic in the exact same spot.

More Tactical & Gear Videos You Might Like

More from Gun Talk Media

View all →