How to Fill the Wood Pores When Finishing a Gun Stock | MidwayUSA Gunsmithing

Published on August 18, 2011
Duration: 1:04

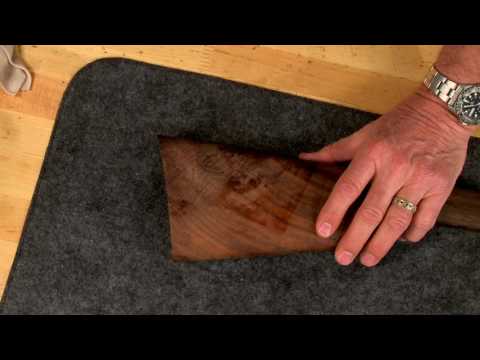
This guide details the process of filling wood pores on a gun stock for refinishing, as demonstrated by Larry Potterfield from MidwayUSA. It emphasizes the importance of prior stock preparation and outlines a multi-step application process using Miles Gilbert Stock Re-Finishing Kit Formula #5. The technique involves applying filler in a circular motion, wiping off excess across the grain, and allowing adequate drying time between multiple applications to achieve a smooth, finished surface ready for further treatment.

Quick Summary

To fill wood pores on a gun stock for refinishing, apply Miles Gilbert Stock Re-Finishing Kit Formula #5 in a circular motion, then wipe excess across the grain. Allow one day of drying between each of the typically three to four applications for a smooth finish.

Chapters

  1. 00:00Introduction: Gun Stock Refinishing
  2. 00:13Prior Stock Preparation Steps
  3. 00:29Applying Wood Grain Filler
  4. 00:41Multiple Filler Applications
  5. 00:53Conclusion: Ready for Finishing

Frequently Asked Questions

What is the primary goal when filling wood pores on a gun stock?

The primary goal is to fill the wood grain to create a smooth surface, which enhances the natural beauty of the wood and prepares it for subsequent finishing stages like staining or sealing.

What product is recommended for filling wood pores on a gun stock?

The video recommends using the Miles Gilbert Stock Re-Finishing Kit Formula #5. It's applied in a circular motion and excess is wiped off across the grain.

How many applications of wood filler are typically needed for a gun stock?

Typically, three to four applications of wood filler are required. It's essential to allow one full day of drying time between each application for optimal results.

What are the essential prior steps before applying wood filler to a gun stock?

Before applying filler, the stock needs prior preparation including filing the grip, shortening the length of pull, installing a recoil pad, rounding the fore-end, sanding the wood smooth, and sealing the grain.

More Gunsmithing & DIY Videos You Might Like

More from MidwayUSA

View all →