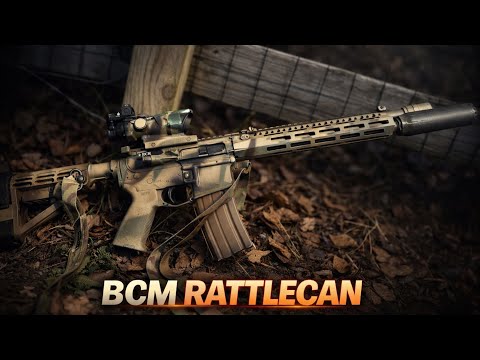
I Ruined My First AR Paint Job So You Don’t Have Too

Published on May 23, 2025
Duration: 13:36

This guide details how to properly paint an AR-15 using rattle cans, emphasizing crucial preparation steps for paint adhesion and longevity. It covers essential tools, meticulous surface scuffing and degreasing, precise masking of sensitive components, and effective spray painting techniques for a durable, personalized finish. The instruction is presented by an experienced individual who learned from mistakes, offering practical advice for a successful outcome.

Quick Summary

To achieve a durable AR-15 paint job, meticulous preparation is key. Wash and degrease the firearm, then scuff the surface with a red Scotch-Brite pad for mechanical adhesion. Mask sensitive areas thoroughly and apply paint in light, layered coats. Remove tape while the paint is wet to prevent chipping.

Chapters

  1. 00:00Intro to AR Painting
  2. 00:52Tools for Painting
  3. 03:35Rifle Preparation
  4. 05:27Scuffing the Surface
  5. 07:48Masking Sensitive Areas
  6. 10:19Painting Techniques
  7. 12:52Conclusion and Tips

Frequently Asked Questions

What are the essential tools for painting an AR-15 with rattle cans?

You'll need painter's tape for masking, an X-Acto knife for precision, rattle can spray paint (Krylon or Rustoleum recommended), brake cleaner for degreasing, soap and water, clean rags, and red Scotch-Brite pads for scuffing.

How do I prepare an AR-15's surface for a durable paint job?

Preparation is crucial. Wash the rifle, degrease with brake cleaner, then scuff the entire surface with a red Scotch-Brite pad to create mechanical adhesion. Reclean to remove dust before painting.

What is the best way to mask sensitive areas on an AR-15 before painting?

Use painter's tape and an X-Acto knife to meticulously cover optic lenses, battery compartments, adjustable knobs, trigger, and muzzle device threads. Consider removing optics entirely if possible.

What painting techniques ensure a long-lasting AR-15 rattle can finish?

Apply paint in light, even coats, starting with a base color and layering camouflage shades. Remove tape while the paint is still wet to create rounded edges that resist chipping.

Related News

All News →

More Gunsmithing & DIY Videos You Might Like

More from AT3 Tactical

View all →