PSA Sabre Dagger Setup

Published on September 26, 2024
Duration: 0:59

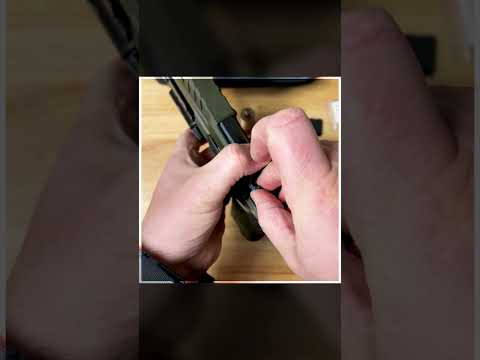
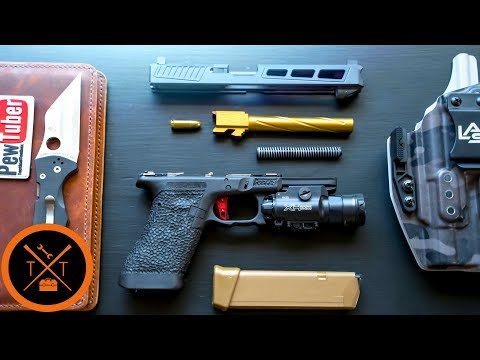
This guide details the professional setup of a Palmetto State Armory Sabre Dagger pistol, as demonstrated by Roger Barrera. It covers the installation of a Holosun optic and a Surefire weapon light, emphasizing the critical use of torque wrenches and witness marks for secure accessory mounting. The guide also touches on holster fitment with a QVO Tactical custom holster.

Quick Summary

Properly install accessories on your PSA Sabre Dagger by using a torque wrench like the Wheeler F.A.T. Wrench to achieve manufacturer-specified tightness for optics and lights. Apply witness marks with a paint pen to monitor hardware security and prevent failures.

Chapters

  1. 00:00PSA Sabre Dagger Overview
  2. 00:07Optic Installation
  3. 00:22Weapon Light Attachment
  4. 00:38Magazine and Holster Fitment

Frequently Asked Questions

How do you properly install a red dot sight on a PSA Sabre Dagger?

Install the Holosun optic onto the RMR footprint cut. Use a Wheeler F.A.T. Wrench to torque the mounting screws to spec, then apply witness marks with a red paint pen to ensure security.

What accessories are recommended for the PSA Sabre Dagger setup?

The video recommends a Holosun 507C red dot sight for optics and a Surefire X300 Turbo weapon light for illumination. A QVO Tactical holster is shown for carry.

Why is using a torque wrench important for firearm accessories?

Using a torque wrench ensures fasteners are tightened to the manufacturer's specifications, preventing damage to the firearm or accessory and ensuring reliable function. It's crucial for optics and lights.

What is the purpose of witness marks on firearm hardware?

Witness marks are lines drawn on screws and the surrounding surface to visually detect if the screw has loosened due to vibration or use. They are a key indicator of hardware security.

Related News

All News →

More Gunsmithing & DIY Videos You Might Like

More from Roger Barrera (QVO Tactical)

View all →