Q's New Trigger: Installed in a Honey Badger SD

Published on February 13, 2021
Duration: 14:05

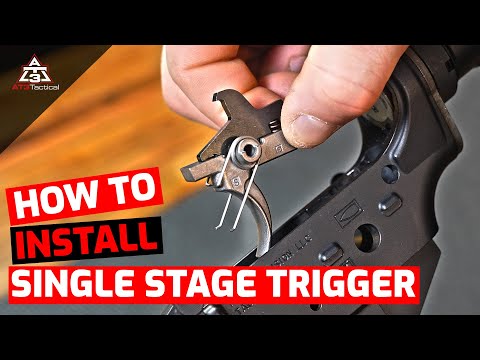
This guide details the installation of a new Q trigger into a Q Honey Badger SD. The process involves separating the upper and lower receivers, removing the existing grip, selector, and trigger/hammer pins, and then installing the new Q trigger using its integrated slave pins. Specific attention is paid to the orientation of the trigger's spring tensioner notch and the reinstallation of the safety selector. A function check is performed at the end.

Quick Summary

Installing a Q trigger in a Honey Badger SD involves separating the upper and lower receivers and removing the grip, selector, and existing pins. The Q trigger simplifies installation with integrated slave pins and a unique spring tensioner that captures a notch on the trigger pin to prevent it from walking out.

Chapters

  1. 00:10Introduction & Overview
  2. 00:35Separating Upper and Lower Receivers
  3. 01:12Removing Grip and Selector Components
  4. 03:47Removing Existing Trigger and Hammer Pins
  5. 05:35Installing the New Q Trigger
  6. 07:14Understanding Q Trigger Pin Retention
  7. 09:15Reinstalling Safety Selector and Grip
  8. 11:35Function Check and Test Fire
  9. 12:42Conclusion & Trigger Impressions

Frequently Asked Questions

What are the key differences when installing a Q trigger in a Honey Badger SD compared to a standard AR-15?

The primary difference is the Honey Badger's unique recoil system, requiring upper and lower receiver separation. The Q trigger itself features integrated slave pins for easier installation and a built-in spring tensioner for pin retention, simplifying the process compared to traditional AR-15 triggers.

How does the Q trigger ensure its pins do not walk out?

The Q trigger has a spring tensioner built into one side. This tensioner engages a specific notch on the trigger pin, effectively capturing it and preventing it from backing out of the receiver, a common issue with standard AR-15 trigger pins.

What tools are recommended for installing a Q trigger?

For installing a Q trigger, a T25 bit is needed for the grip screw. A punch set is useful for driving out the original trigger and hammer pins. The Q trigger often includes slave pins, which are crucial for retaining components during installation.

What is the recommended torque for the grip screw when installing a Q trigger?

The presenter recommends torquing the grip screw to 25 inch-pounds. While this specific torque value is suggested, it's noted that more torque might be acceptable, but 25 inch-pounds is presented as a handy and effective number.

Related News

All News →

More Gunsmithing & DIY Videos You Might Like

More from Kit Badger

View all →