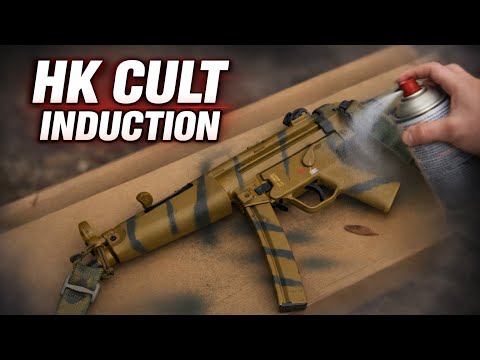
Paint Job: Desert Snake (WARZONE?)

Published on January 21, 2021
Duration: 16:32

This video provides a step-by-step guide on how to apply a 'Desert Snake' camouflage paint job to an AR pistol. The process involves preparing the firearm by taping off sensitive areas, applying multiple layers of spray paint (light tan base, dark brown stripes, light brown speckling, and final dark lines), and allowing adequate drying time between coats. The instructor emphasizes practicing on a 2x4 before applying to the actual firearm and notes that wear and tear over time will enhance the distressed look.

Quick Summary

For effective firearm camouflage, use flat or matte finish spray paints to avoid shine. The 'Desert Snake' pattern involves a light tan base, dark brown stripes, light brown speckling, and final dark lines. Always mask sensitive areas, practice on scrap material, and allow ample drying time between coats for proper adhesion.

Chapters

  1. 00:00Introduction and Build Goal
  2. 00:32Sponsor Mentions
  3. 01:30Building the AR Pistol in Game
  4. 02:03Weapon Camouflage Options
  5. 02:27Chosen Camouflage Pattern: Desert Snake
  6. 03:34Paint Selection Tips
  7. 04:36Taping the Firearm
  8. 06:27Applying Base Coat (Light Tan)
  9. 07:00Drying Time and Tips
  10. 08:32Painting the Other Side
  11. 11:01Applying Dark Stripes
  12. 12:30Light Speckling for Blending
  13. 13:32Painting is Art: Practice Recommended
  14. 14:36Using Foliage and Stencils
  15. 14:58Final Touches and Wear
  16. 15:49Conclusion and Encouragement

Frequently Asked Questions

What type of paint is best for firearm camouflage?

For firearm camouflage, it is recommended to use flat or matte finish spray paints. These finishes avoid shine, which is crucial for effective camouflage in various environments. Brands like Krylon and Rust-Oleum offer suitable options in earth tones.

How do you achieve a 'Desert Snake' paint job on a firearm?

The 'Desert Snake' pattern involves a multi-layer application: start with a light tan base coat, add dark brown stripes, then speckle with light brown to darken the stripes. Finally, apply dark lines for the snake pattern and optionally add a light speckle for blending and a distressed look.

What are important preparation steps before painting a firearm?

Before painting, thoroughly clean the firearm and mask off any parts that should not be painted, such as optics lenses, the trigger mechanism, and the muzzle. Inserting a magazine can also help ensure a smooth finish around the magazine well.

How long does it take for firearm paint to dry?

Drying time for firearm paint varies significantly based on environmental factors like temperature and humidity. Colder, less humid conditions will require longer drying periods. It's essential to allow each layer to dry completely before applying the next to ensure proper adhesion and prevent cracking.

Related News

All News →

More Gunsmithing & DIY Videos You Might Like

More from Weapon Snatcher

View all →